
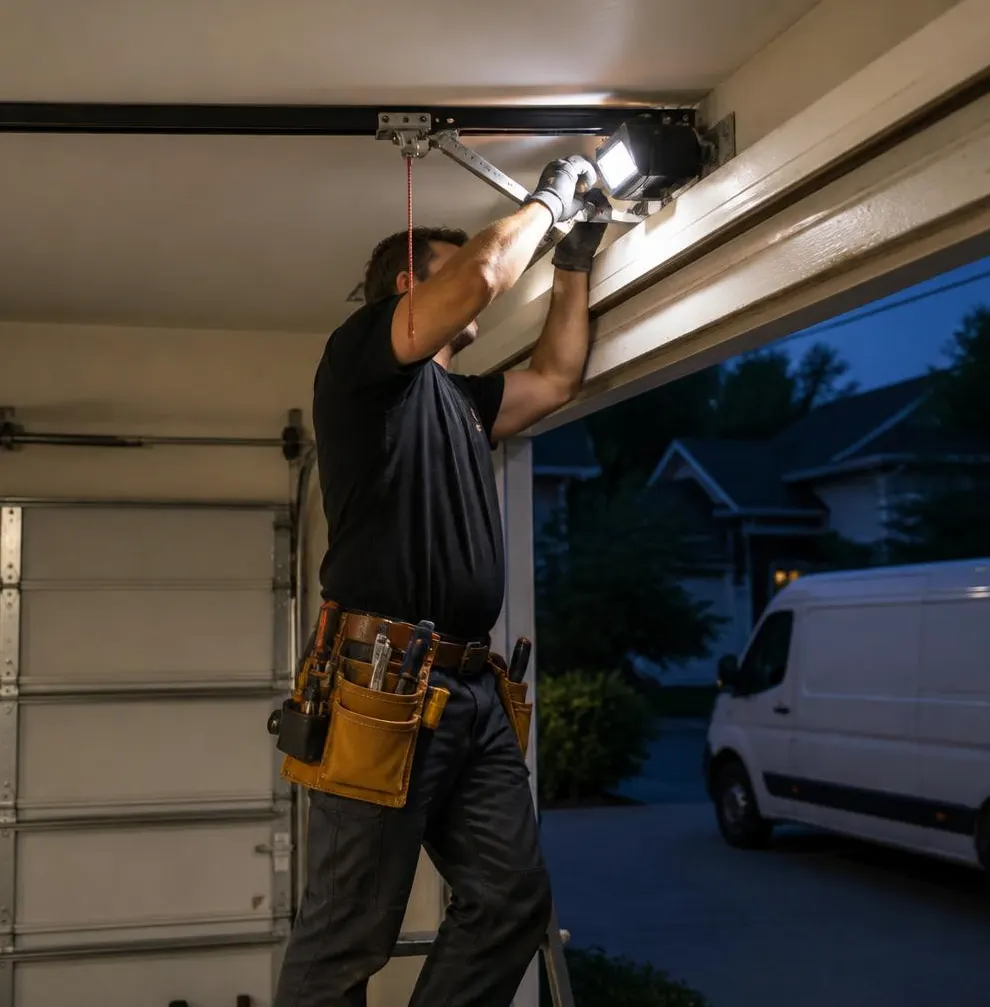
The Mistake Most Homeowners Make First
The gap under the garage door is letting in water, bugs, or that thin layer of dust that somehow coats everything in the garage. The tempting fix is to grab whatever rubber strip is cheapest at the hardware store, cut it to length, and jam it into the track. It looks like it should work, and for a week or two it might. Then it curls up in the heat, pulls loose in a storm, or never actually sealed the corners in the first place. The problem isn't effort, it's that bottom seals come in different profiles (bead, T-end, bulb-style) and the track on your door only accepts one of them. Buy the wrong shape and you've wasted money and still have the same draft.
Why This Matters More Here Than Most Places
In this part of Florida, a worn bottom seal isn't just a comfort issue. Afternoon downpours during hurricane season push water sideways under doors that don't seal tight, and that water sits on a garage floor that's often also storing tools, bikes, or an extra freezer. Humidity gets into cardboard boxes and swells wood trim and shelving. Gaps at the bottom and sides are also where palmetto bugs, lizards, and the occasional rodent get in, especially once the weather cools slightly and they look for a dry place to hide. A cracked or flattened seal that was fine two years ago may be failing right now simply from sun exposure and heat cycling on the door panel.
Tools You'll Need
- Tape measure
- Utility knife or sharp scissors
- Replacement bottom seal (match the track profile — bring the old piece or a photo when buying)
- Rubber mallet (for T-style seals that tap into a retainer track)
- Soapy water or silicone spray (helps the seal slide into the track)
- Flathead screwdriver (for retainer-style tracks held by a metal or vinyl strip)
- Shop vacuum and a stiff brush for cleaning the track and door bottom first
- Work gloves
Step-by-Step: Replacing a Bottom Seal
- Lower the door and disconnect the opener. Pull the manual release cord so the door can't be triggered while you're working on it.
- Inspect the current seal. Look for flattening, cracking, chunks missing at the corners, or a seal that's pulled completely out of its track in spots. Note the shape of the end that sits in the track — this tells you which replacement profile to buy.
- Clean the track and the bottom edge of the door. Dirt, dead bugs, and old rubber residue will keep a new seal from seating properly. A shop vac and brush handle most of it.
- Pull the old seal out. Most slide out lengthwise once you free one end with a flathead screwdriver. Don't force it sideways — it'll tear and leave pieces jammed in the channel.
- Measure the door width and cut the new seal slightly long. An extra half inch on each end gives you a tighter seal at the corners, where most water actually gets through.
- Feed the new seal into the track. Start at one end and work across. Soapy water or a bit of silicone spray on the seal's edge makes this much easier, especially with wider T-style seals that need to be tapped in with a rubber mallet.
- Check the fit with the door closed. Look along the entire bottom edge from inside the garage, during daylight, for any visible gaps or light coming through. Pay close attention to the corners, since this is where seals most often come up short.
- Reconnect the opener and test a full cycle. Run the door up and down once to make sure the seal isn't dragging, bunching, or catching on the floor.
What About Weatherstripping on the Sides and Top?
Side and top weatherstripping (sometimes called stop molding seals) work similarly and are just as prone to cracking from heat and UV exposure. The same cleaning and replacement steps apply, though the material is usually a thinner vinyl strip tacked along the door frame rather than fed through a track. If yours has come loose from the frame entirely, it can usually be re-nailed or re-stapled in place by a homeowner with basic tools.
Where DIY Should Stop
Replacing a bottom seal or frame weatherstripping is a reasonable weekend project for most homeowners — it's low risk, the parts are inexpensive, and there are no springs or cables involved. But a few situations call for a technician instead:
- The seal keeps failing within months, which usually points to a warped or off-track door rather than a bad seal.
- You notice rust or swelling on the bottom steel panel itself, not just the rubber.
- The door doesn't sit level against the floor, leaving a gap on one side no matter how many seals you try.
- You're also noticing the door is harder to lift, slow to respond, or making noise — those are often spring, cable, or opener issues layered on top of the sealing problem.
When to Call Homestead Garage Door
If you've replaced the seal and water, drafts, or pests are still getting in, the issue is usually mechanical rather than cosmetic. Our technicians check for a door that's out of track, a bent bottom panel, or a frame that's no longer square — all common after years of heat cycling and storm wind-load stress. We handle Off Track Door Repair and Garage Door Maintenance & Tune-Up to get the door seated properly before a new seal is even worth installing, and we'll flag any spring or cable wear while we're in there so you're not calling us back twice.
If your bottom seal or weatherstripping needs more than a quick swap, or your door hasn't closed flush in a while, call Homestead Garage Door today for service across Homestead, Florida City, Naranja, Leisure City, Princeton, Cutler Bay, Palmetto Bay, and Kendall.